

In an attempt to un-process our food as much as possible, I'm going the DIY route with a lot of things I'd otherwise just purchase. Baby food was one of those things with my first baby. I started making my own with my second baby. And now that I'm onto my third baby, it's no big deal to whip up small or big batches of homemade baby food!
So here's the basics. Puree fruit. Serve. Or cook vegetables. Puree. Serve. :) But just for kicks, here's a photo step by step for ya of a veggie batch.
My tools:
A big pot
An immersion blender (here's mine, for example)
Silicon ice cube trays (these little gems can also be found at Walmart if you're lucky) or old baby food jars or little baby food storage containers
The goods:
2 large sweet potatoes
5-6 medium carrots
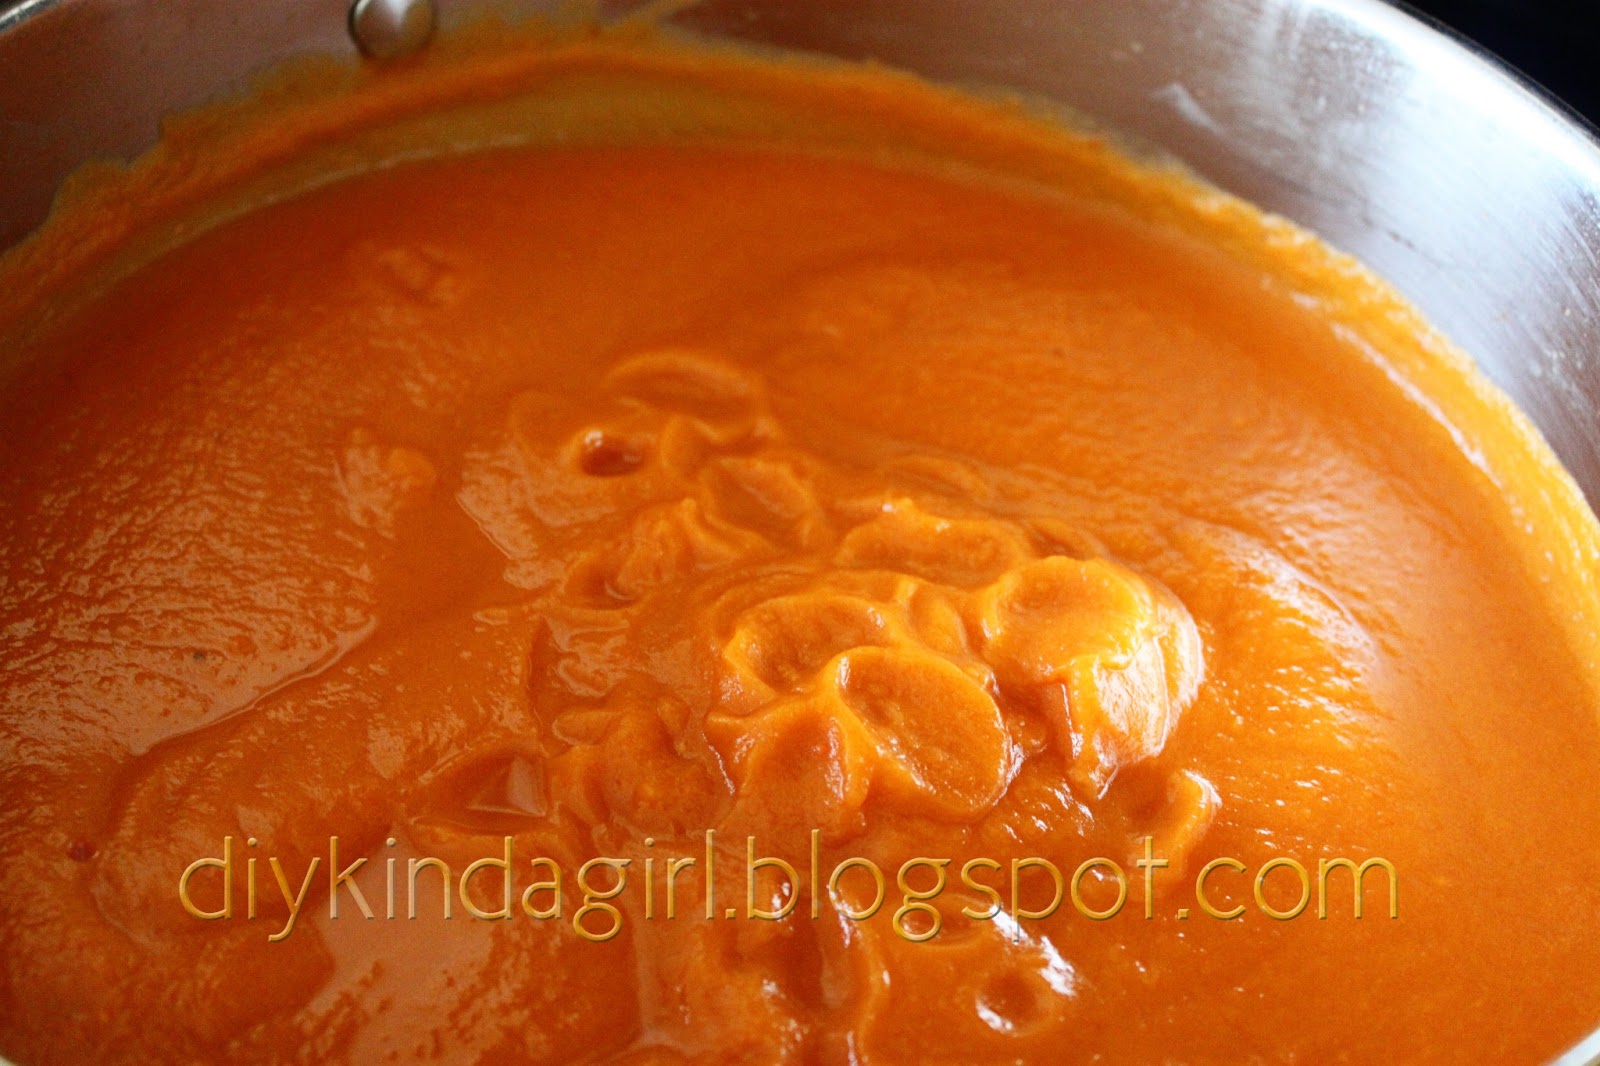
Step 1: Peel the sweet potatoes (I don't peel the carrots, just scrub them really well with a veggie brush), and chop both sweet potatoes and carrots into small chunks (mine were about a half inch by half inch by inch rectangles of sweet potato). Smaller they are, faster they cook.
Step 2: Plop 'em in a big pot.


Don't fill any of these containers all the way, as the baby food will expand as it freezes. (And no, the glass baby jars will not break if you don't fill them up all the way, I used those for my second baby's food, and nary a one broke.)


Step 7: Freeze.
 |
| No, freezing will not cause dramatic color change. These are prunes. Forgot to take a photo of the sweet potato/carrot cubes before I popped 'em out. |

 |
| She makes prunes look good. |
I spent less than $2 (I don't know exactly how much, unfortunately, but I guarantee it was less than 2 bucks since I got the carrots on sale!), so that's less than 8 cents a serving. Gerber Stage 2 from walmart.com is $0.54 per 3.5 ounce serving. Savings? Check. Knowing precisely what is in your baby food? Check.
Easy Peasy!