
Tricksy. Learned a lot about using a miter saw, I can tell you that!
I did most of this flying by the seat of my pants (of course), but I have to tell you, after I labored and made mistakes, I discovered someone else in the crafty/DIY blogosphere who has some awesomely awesome tutorials on molding. Emily at Nest, Nesting, Nested. I refer you to there. Partially because I have a head cold and can't begin to fathom explaining all of that myself. And I'm sure she won't mind me sending traffic her way.
Anyway, just to give you a few tips of my own.
- You can make almost any kind of molding work. I chose molding that is technically a chair rail molding, but worked wonderfully for my purposes.
- I attached 4 inch pieces of furring strips to my cabinets using brackets.
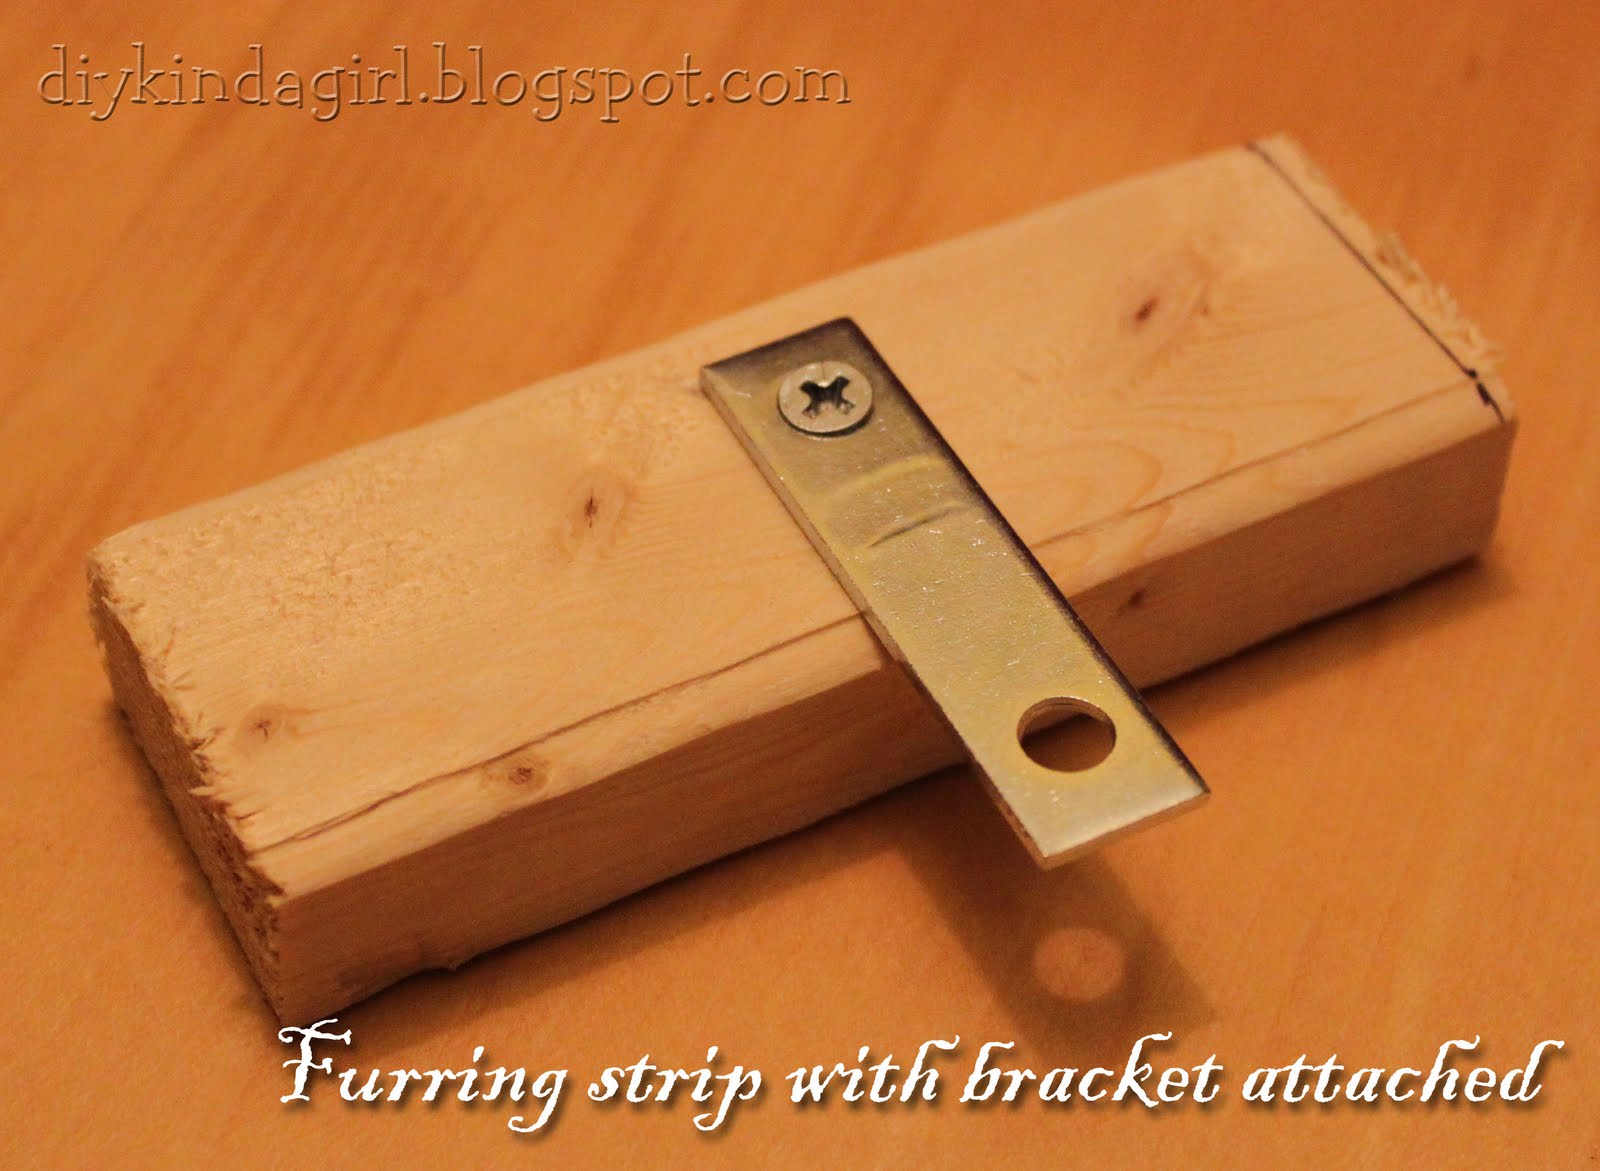

- The cabinet sides were thinner than the cabinet fronts, so I needed to stick something between the bracket and the cabinet to make sure the furring strip was flush with the front of the cabinet. I used Popsicle sticks. Worked like a charm. Don't worry if they crack and splinter, it doesn't matter. They just need to fill that gap.

- When you are cutting, try using the sneaking up method "Using Your Saw Blade" in this article. It worked great for me.
- Buy screws long enough to go through your furring strips and into the molding, but NOT THROUGH IT! (Plan on putting the screws in at the thickest part of the molding.)
- Put a bit of wood glue on the furring strips before you start screwing. If any drips down, WIPE IT UP IMMEDIATELY. It's globby, ugly and won't stain.
- Use clamps, but still don't try to do this yourself, it's a two man job.
- Predrill the screw holes using a drill bit smaller in diameter than your screws.
- If needed, tack the molding in from the front using finish nails. When it gets almost all the way in, use another nail to tap the hammer on and drive it all the way in. Then fill it with wood filler.
- Wood filler is your friend. It will cover a multitude of sins. Seriously. You wouldn't believe some of the mistakes I made in my cutting that no one would even notice, thanks to my wood filler. We're pals.
- Follow the same basic recommendations for staining these as are in Step Three. Be aware, this wood is different wood than your cabinets, so your stain may not look exactly the same, but it will be close enough.
- I did all but one coat of stain before I put the molding up. Once they were up, I did another coat of stain (and two or three coats on the wood filler using a Q-tip), then the polyurethane to finish it off.
And that is that.
Now just a recap of our shopping list for this step:
Finish nails
Hammer
Miter saw (rent, borrow or buy)
Q-tips
And just remember, you might (probably will) make mistakes. (though hopefully fewer since you've been learning from mine!) But in all likelihood, it will still turn out great, and no one will ever notice those mistakes. Take courage! :) If you want to do this, you totally can. I did, after all!
If you've missed any posts in this series, here are the links for the whole she-bang:
and of course, this post, Step Six: Decorative Molding
Not to mention, the Before and After photos of my kitchen.
Not to mention, the Before and After photos of my kitchen.